Showing posts with label recipes. Show all posts

Thursday, January 26, 2012

{sweet potato pizza} with garlic, basil, gorgonzola, and hazelnuts


{sweet potato pizza} with garlic, basil, gorgonzola, and hazelnuts
recipe by me

1 medium-large sweet potato
3 cloves garlic
2 tablespoons olive oil
3 tablespoons chicken stock
1 tablespoon pure maple syrup
1/4 cup hazelnuts toasted and chopped
2-3 leaves basil, chiffonade
gorgonzola, to taste
1/2 cup parmesan
salt and cracked pepper to taste
pizza dough {i use my artisan bread recipe for neapolitan pizza dough} this crust was made with part whole wheat and flax seed meal.

preheat oven to 500 degrees
heat olive oil in a small saucepan; peel garlic cloves and cut into very thin slices, and add to the oil. cook garlic on low heat until fragrant and tender (around 10 minutes). peel sweet potato and cook in boiling water until tender. put in a bowl with chicken stock and maple syrup and a pinch of salt, and mash. set aside.

break off about 1/2 lb {around a softball sized ball} of dough from the artisan bread dough. you will be able to adjust this, depending on how you like your crust, or how big you want your pizza to be {if making a bigger pizza, break off grapefruit sized ball, and double toppings}.
on a floured surface, roll out dough, to desired thickness. don't be afraid to dust with flour in this process, this dough is a wet dough and can handle the flour... i also love the way it looks when it is baked and still has a dusting of flour on the crust. this particular pizza i rolled to about medium thickness, and slightly smaller than a dinner plate. but i've also rolled it very thin and once baked, it is wonderfully crisp.

here is more on rolling out the dough {neapolitan pizza dough recipe}
Flatten the dough into a 1/8-inch-thick round with your hands and a rolling pin on a wooden board. Dust with flour to keep the dough from sticking. (A little sticking can help overcome the dough’s re sis tance to stretching, though, so don’t overuse flour.) You also can let the partially rolled dough relax for a few minutes to allow further rolling. Stretching by hand may help, followed by additional rolling. Place the rolled- out dough onto a liberally cornmeal- covered pizza peel.

sprinkle a generous amount of cornmeal on a baking sheet and transfer pizza dough.

spread sweet potato over the crust as you would pizza sauce. top with garlic, drizzling some of the fragrant olive oil over the pizza. crumble gorgonzola, and sprinkle with parmesan. season with salt and cracked pepper. top with basil chiffonade and bake at 500 degrees for around 10 minutes or until crust is crisp and golden. slice and top with toasted hazelnuts, and a bit more parmesan.

*plate by kate fisher {my favorite local potter}.


Tuesday, January 24, 2012

dear ina {shortbread cookies}


dear ina,
you never let me down. i made your shortbread cookie recipe with august this weekend, and they were divine. perfectly flaky, and just as you say "the quintessence of shortbread, and my all-time favorite cookie". we usually make the shortbread hearts for valentines day, but i couldn't wait that long. maybe someday we will make them together in your kitchen... a girl can dream.
sincerely,
alison rae

{shortbread cookies}
adapted from the barefoot contessa, ina garten

3/4 lb unsalted butter at room temperature
1 cup sugar
1 1/4 tsp pure vanilla extract
3 1/2 cups all-purpose flour
1/4 tsp salt

mix the butter and granulated sugar together in the bowl of a mixer fitted with the paddle attachment until just combined. add the vanilla. in another bowl, sift together the flour and salt; add it to the butter and sugar. mix until dough just comes together. dump onto a floured board and shape into a flat disk. wrap in plastic and chill for 30 minutes.

preheat oven to 350 degrees

roll the dough 1/2 inch thick and cut with a 3 inch round/or heart shaped fluted cutter. place on an ungreased baking sheet and bake for 20 to 25 minutes, until the edges begin to brown. i like to sprinkle them with sugar just as they come out of the oven. let cool to room temperature.

Tuesday, January 3, 2012

{rustic chicken pot pie}


i've been making this lately with left over pie dough {this time from the quiche} that i keep in the fridge {store bought is fine too, and easy}. it's also a great way to use up leftover chicken from ina's roast chicken recipe that i love to make. i love how simple it is, and unfussy it is.
{recipe by me}

{ingredients}
1 pie crust
1 Tablespoon butter
2 Tablespoons olive oil
1/2 medium yellow onion, or 2 medium shallots, chopped
1 clove garlic, minced
2-3 carrots diced
2-3 medium potatoes, peeled and cut into chunks
mushrooms to taste, quartered {optional, but i like the earthiness they add}
handful of fresh or dried thyme, roughly chopped
1/4 cup flour
2 cups chicken stock
salt and cracked pepper
1/3 cup heavy cream or 1/2 and 1/2
splash of white wine {optional}
1 1/2 cups of cooked chicken, shredded or chopped
handful of shredded parmesan or sharp cheddar

preheat oven to 375
*if you are starting with chicken breast that you need to cook, start by cooking the chicken breast {season well with salt and pepper} in olive oil, in the sauce pan you will use for the filling. remove chicken to plate once cooked, add a splash of white wine or chicken stock to de- glaze the pan. now begin adding your onions and garlic. this will give your dish more depth of flavor. if you have cooked chicken breast on hand or leftover chicken {like i did from roast chicken} then go start with the recipe below.


heat oil and butter in a deep sauce pan, add onion and garlic and cook over medium heat until translucent and fragrant. add carrots, potatoes, and mushrooms {optional}, along with thyme. cook over medium heat for a few minutes stirring to incorporate all ingredients. sprinkle vegetables with flour and cook for a couple more minutes stirring often. add chicken stock and bring to a boil, then reduce heat stirring to make sure it isn't sticking. add salt and cracked pepper to taste. add chicken, splash of white wine. cover and simmer for 20 minutes. heat cream and add to finish the filling. turn off the heat and taste to adjust seasonings.

roll out pie crust to just a bit bigger than your pie pan. lay crust in pie dish, with excess draped over the sides. add the filling and simply fold the crust back over the filling. don't over think it, it should look "rustic". sprinkle the top of the pot pie and crust with parmesan or sharp cheddar.

bake for 35-45 minutes, or until the filling is bubbling and browned, and the crust is golden and crispy.

let stand for 5-10 minutes, cut and serve. i often serve this straight from the pie dish, but you can also loosen the edges of the pot pie and slide it out onto a serving plate.

sprinkle with a bit more thyme, and serve.

*this is also wonderful as a vegetarian pot pie... just leave out the chicken and use vegetable stock in place of chicken stock.

xo,
alison rae


Tuesday, April 19, 2011

dear ina


dear ina,
i can't tell you how much i love your roast chicken recipe. love. i've made it countless times, and it never fails me. it's pure comfort food... so simple and fresh and beautiful, and the house smells amazing every time i make it. it's everything i love about cooking. and, frankly... you make me look good.
sincerely,
alison rae

p.s. if you ever need an assistant call me. i'll peel carrots all day long.


perfect roast chicken {ina garten, from the barefoot contessa cookbook}

1 5-6 pound roasting chicken
kosher salt
freshly ground black pepper
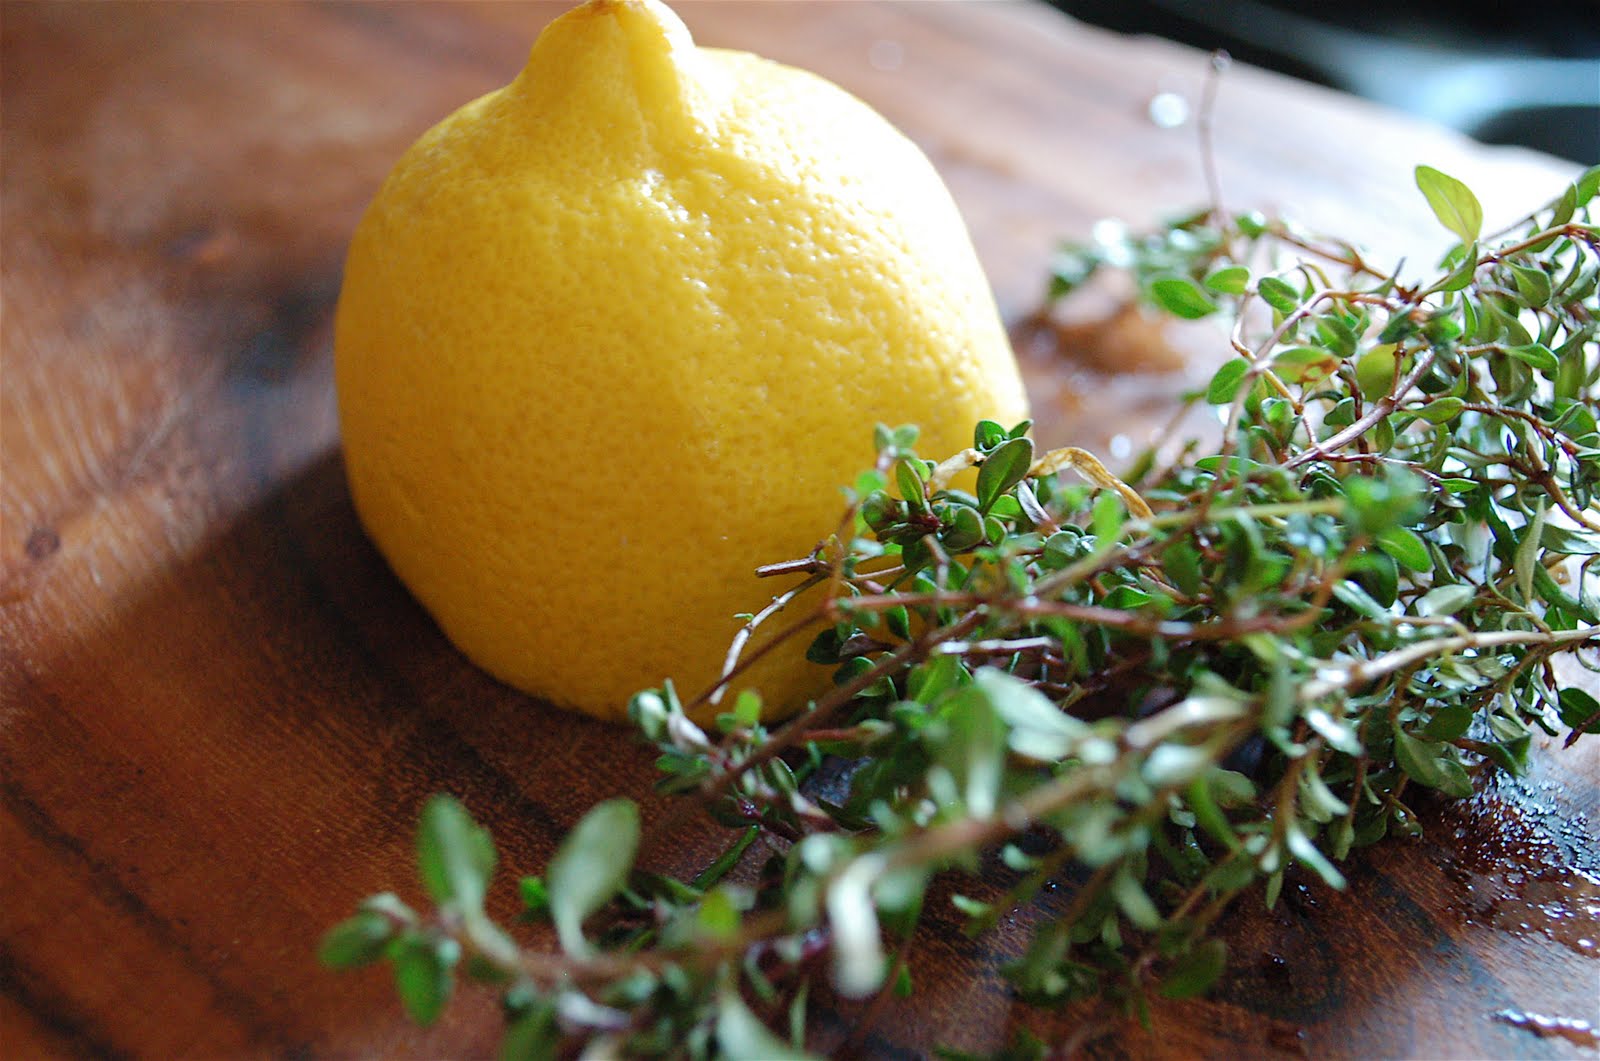
1 large bunch fresh thyme
1 lemon, halved
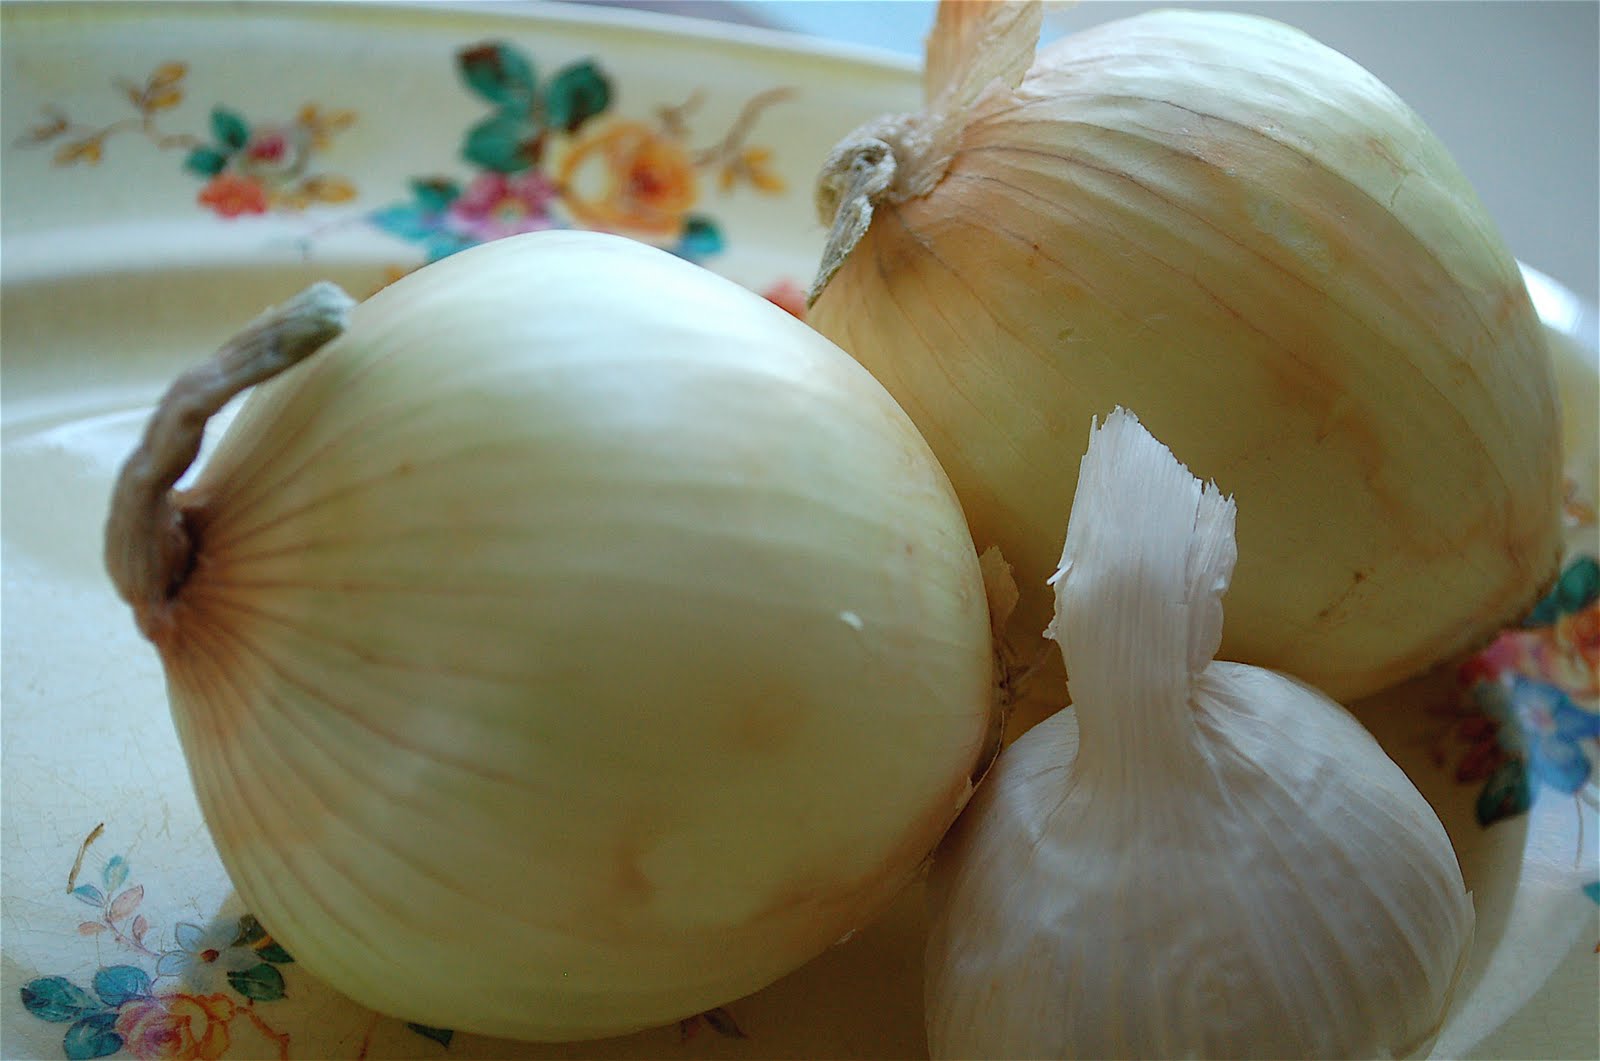
1 head garlic, cut in half crosswise
2 tablespoons butter, melted
1 spanish onion,thickly sliced (i use two)
*i like to add 4-5 peeled and sliced carrots to the roasting pan with the onion

1 cup chicken stock
2 tablespoons all purpose flour

{preheat oven to 425 degrees}
remove the chicken giblets. rinse the chicken inside and out. remove any excess fat and leftover pinfeathers and pat the outside dry. place the chicken in a roasting pan. liberally salt and pepper the inside of the chicken. stuff the cavity with the bunch of thyme, both halves of the lemon, and all the garlic. brush the outside of the chicken with the butter and sprinkle again with salt and pepper. tie the legs together with kitchen string and tuck the wing tips under the body of the chicken. scatter onion slices around the chicken. {if roasting carrots or other vegetables, place the chicken on top of the carrots and onions for roasting.}
roast the chicken for 1 1/2 hours, or until the juices run clear when you cut between a leg and thigh. remove to a platter and cover with aluminum foil while you prepare the gravy.
remove all fat from the bottom of the pan, reserving 2 tablespoons in a small cup. add the chicken stock to the pan and cook on high heat for about 5 minutes (a splash of white wine is great here... pour a glass for yourself too), until reduced, scraping the bottom of the pan. combine the 2 tablespoons of chicken fat with the flour and add to the pan. boil for a few minutes to cook the flour. strain the gravy into a small saucepan and season it to taste. keep it warm over a very low flame while you carve the chicken.
slice the chicken onto a platter and serve immediately with the warm gravy. {i usually serve this with just the pan juices spooned over the warm chicken, roasted onion, and roasted carrots. but, who can resist gravy?} garnish with lemon, and fresh thyme.


Tuesday, April 5, 2011

artisan bread with garlic, herbs de provence, and parmesan


so, i started baking artisan bread awhile back, thanks to a tip from my lovely friend rachel. i LOVE this recipe. it is seriously so easy, and rewarding. the dough is stored in the fridge and you can break off dough to bake fresh for dinner. i've also baked the bread ahead of time, in the form of baguettes (two per cookie sheet), and i leave them a little underdone and freeze them. then i pull out a baguette and preheat the oven to 350. also, the pizza dough is amazing. i started experimenting with other things to add to the bread and came up with this herbed bread. i'm currently a bit obsessed with it.

artisan bread with garlic, herbs de provence, and parmesan:
start with the master boule recipe. you can use all unbleached flour, or add in some
whole wheat. i added 2 1/2- 3 cups whole wheat flour, in place of some of the white flour.

peel 8-10 cloves of garlic, slice thin and saute in olive oil until soft and fragrant.
3 tablespoons herbs de provence, plus more for top of loaf
3/4 cup parmesan, asiago, or romano chees, plus more for the top of loaf

after the dough rises, add the garlic with the oil it cooked in, the cheese, herbs and a bit
more salt and pepper. mix well and refrigerate. i shaped this into a bit longer loaf, not quite
round, let it rise and then sprinkled the top with more herbs and cheese. press the herbs and
cheese into the dough a bit. score with a sharp knife and dust with flour.
bake as directed in the master recipe.
The Master Recipe: Boule(Artisan Free-Form Loaf) Makes 4 1-pound loaves
3 cups lukewarm water
1 1⁄2 tbsp granulated yeast (1 1⁄2 packets)
1 1⁄2 tbsp coarse kosher or sea salt
6 1⁄2 cups unsifted, unbleached, all-purpose white flour
Cornmeal for pizza peel

The Master RecipeThe artisan free-form loaf called the French boule is the basic model for all the no-knead recipes. The round shape (boule in French means “ball”) is the easiest to master. You’ll learn how wet the dough needs to be (wet, but not so wet that the finished loaf won’t retain its form) and how to shape a loaf without kneading. And you’ll discover a truly revolutionary approach to baking: Take some dough from the fridge, shape it, leave it to rest, then let it bake while you’re preparing the rest of the meal.

Keep your dough wet — wetter doughs favor the development of sourdough character during storage. You should become familiar with the following recipe before going through any of the others.

Mixing and Storing the Dough
1. Heat the water to just a little warmer than body temperature (about 100 degrees Fahrenheit).
2. Add yeast and salt to the water in a 5-quart bowl or, preferably, in a resealable, lidded container (not airtight — use container with gasket or lift a corner). Don’t worry about getting it all to dissolve.
3. Mix in the flour by gently scooping it up, then leveling the top of the measuring cup with a knife; don’t pat down. Mix with a wooden spoon, a high-capacity food processor with dough attachment, or a heavy-duty stand mixer with dough hook, until uniformly moist. If hand-mixing becomes too difficult, use very wet hands to press it together. Don’t knead! This step is done in a matter of minutes, and yields a wet dough loose enough to conform to the container.
4. Cover loosely. Do not use screw-topped jars, which could explode from trapped gases. Allow the mixture to rise at room temperature until it begins to collapse (or at least flatten on top), approximately two hours, depending on temperature. Longer rising times, up to about five hours, will not harm the result. You can use a portion of the dough any time after this period. Refrigerated wet dough is less sticky and easier to work with than room-temperature dough. We recommend refrigerating the dough at least three hours before shaping a loaf. And relax! You don’t need to monitor doubling or tripling of volume as in traditional recipes.
5. Prepare a pizza peel by sprinkling it liberally with cornmeal to prevent the loaf from sticking to it when you slide it into the oven.
Sprinkle the surface of the dough with flour, then cut off a 1-pound (grapefruit-sized) piece with a serrated knife. Hold the mass of dough in your hands and add a little more flour as needed so it won’t stick to your hands. Gently stretch the surface of the dough around to the bottom on four “sides,” rotating the ball a quarter-turn as you go, until the bottom is a collection of four bunched ends. Most of the dusting flour will fall off; it doesn’t need to be incorporated. The bottom of the loaf will flatten out during resting and baking.
6. Place the ball on the pizza peel. Let it rest uncovered for about 40 minutes. Depending on the dough’s age, you may see little rise during this period; more rising will occur during baking.
7. Twenty minutes before baking, preheat oven to 450 degrees with a baking stone on the middle rack. Place an empty broiler tray for holding water on another shelf.
8. Dust the top of the loaf liberally with flour, which will allow the slashing, serrated knife to pass without sticking. Slash a 1⁄4-inch-deep cross, scallop or tick-tack-toe pattern into the top. (This helps the bread expand during baking.)
9. With a forward jerking motion of the wrist, slide the loaf off the pizza peel and onto the baking stone. Quickly but carefully pour about a cup of hot water into the broiler tray and close the oven door to trap the steam. Bake for about 30 minutes, or until the crust is browned and firm to the touch. With wet dough, there’s little risk of drying out the interior, despite the dark crust. When you remove the loaf from the oven, it will audibly crackle, or “sing,” when initially exposed to room temperature air. Allow to cool completely, preferably on a wire rack, for best flavor, texture and slicing. The perfect crust may initially soften, but will firm up again when cooled.
10. Refrigerate the remaining dough in your lidded (not airtight) container and use it over the next two weeks: You’ll find that even one day’s storage improves the flavor and texture of your bread. This maturation continues over the two-week period. Cut off and shape loaves as you need them. The dough can also be frozen in 1-pound portions in an airtight container and defrosted overnight in the refrigerator prior to baking day.

Neapolitan Pizza Dough
The secrets to this pizza are to keep the crust thin, don’t overload it, and to bake it quickly at a high temperature so it doesn’t cook down to a soup. It’s unlike anything most of us are used to eating — especially if you make fresh mozzarella!
1 pound pre- mixed boule dough
Cornmeal for covering the pizza peel
Topping: your favorite seasonal ingredients
  1. 20 minutes before baking, preheat the oven with a baking stone (scraped clean) at your oven’s maximum temperature — the hotter, the better. (Another option is to use the baking stone over a grill, which takes about two-thirds of the time.)
  2. Prepare the toppings in advance. The key to a pizza that slides right off the peel is to work quickly.
  3. Follow Step 5 of The Master Recipe (above).
  4. Flatten the dough into a 1/8-inch-thick round with your hands and a rolling pin on a wooden board. Dust with flour to keep the dough from sticking. (A little sticking can help overcome the dough’s re sis tance to stretching, though, so don’t overuse flour.) You also can let the partially rolled dough relax for a few minutes to allow further rolling. Stretching by hand may help, followed by additional rolling. Place the rolled- out dough onto a liberally ­cornmeal- covered pizza peel.
  5. Distribute your toppings over the surface, leaving some of its surface exposed so you can appreciate the individual ingredients — and the magnificent crust! — of the final product. No further resting is needed.
  6. Turn on the exhaust fan (or use lower heat and bake a few minutes longer), because some of the cornmeal will smoke. Slide the pizza onto the stone ( back- and- forth shakes can help dislodge it). Check for doneness in 8 to 10 minutes. Turn the pizza around if one side is browning too fast. It may need up to 5 more minutes.
  7. Allow to cool slightly on a rack before serving.

Makes 1 12- to 14-inch pizza to serve 2 to 4.

find the whole article here http://www.motherearthnews.com/Real-Food/Artisan-Bread-In-Five-Minutes-A-Day.aspx

Friday, March 25, 2011

best. salad. ever.


for the salad:
bacon
blue cheese or gorgonzola
walnuts
brown sugar and butter
granny smith apples sliced thin
mixed greens

for the dressing:
1 part olive oil
2 parts good balsamic vinegar
maple syrup to taste
1 clove garlic minced or pressed
1 tsp (or so) dijon mustard
salt and pepper
~put everything in a mason jar and shake. taste it and adjust as needed.

cook bacon, cut into small pieces and set aside. melt one tblsp butter in a pan, add walnuts and stir until toasted, add 3 tblsp brown sugar and cook until the sugar is dissolved and the walnuts are coated. i like to add a pinch of sea salt to bring out the flavor. it's also really good with the walnuts simply toasted in a pan if you don't want them candied. i like to dump the walnuts out onto parchment paper to let them cool.
assemble the salad: combine mixed greens with the dressing in a bowl. add a little bit at time to make sure you don't over dress. your hands are the best tools. plate some of the greens first then add bacon, blue cheese, walnuts, and sliced apples. i like to drizzle a little more dressing over the top.
you can also serve this in a big bowl for family meals.
i love this combination of salty and sweet, but the star here is really the dressing. my all time favorite is to add roasted beets to this. this is also really yummy with chicken breast in place of the bacon. (salt and pepper, pan sear the chicken and finish in the oven. let cool and slice.)